How to Take Professional Property Photos with a Smartphone
$2
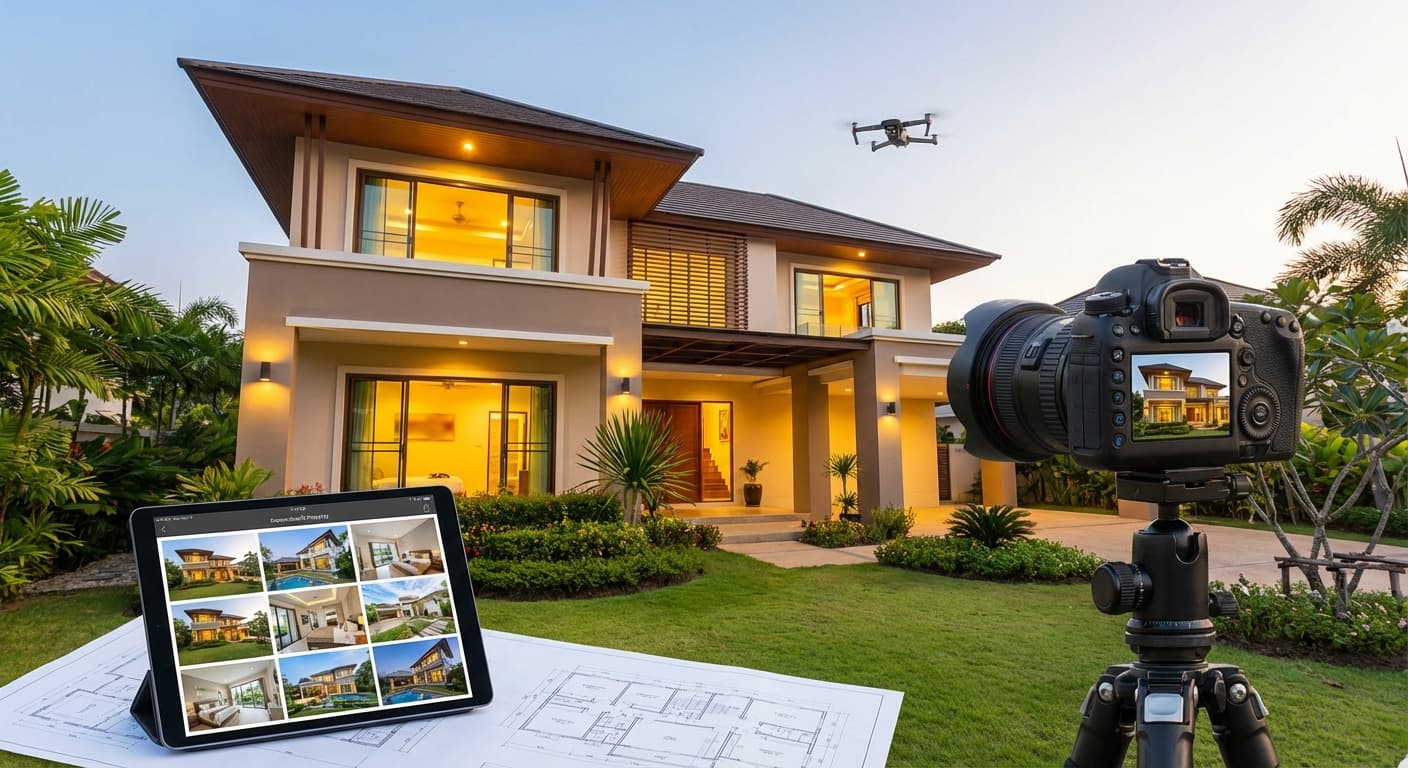
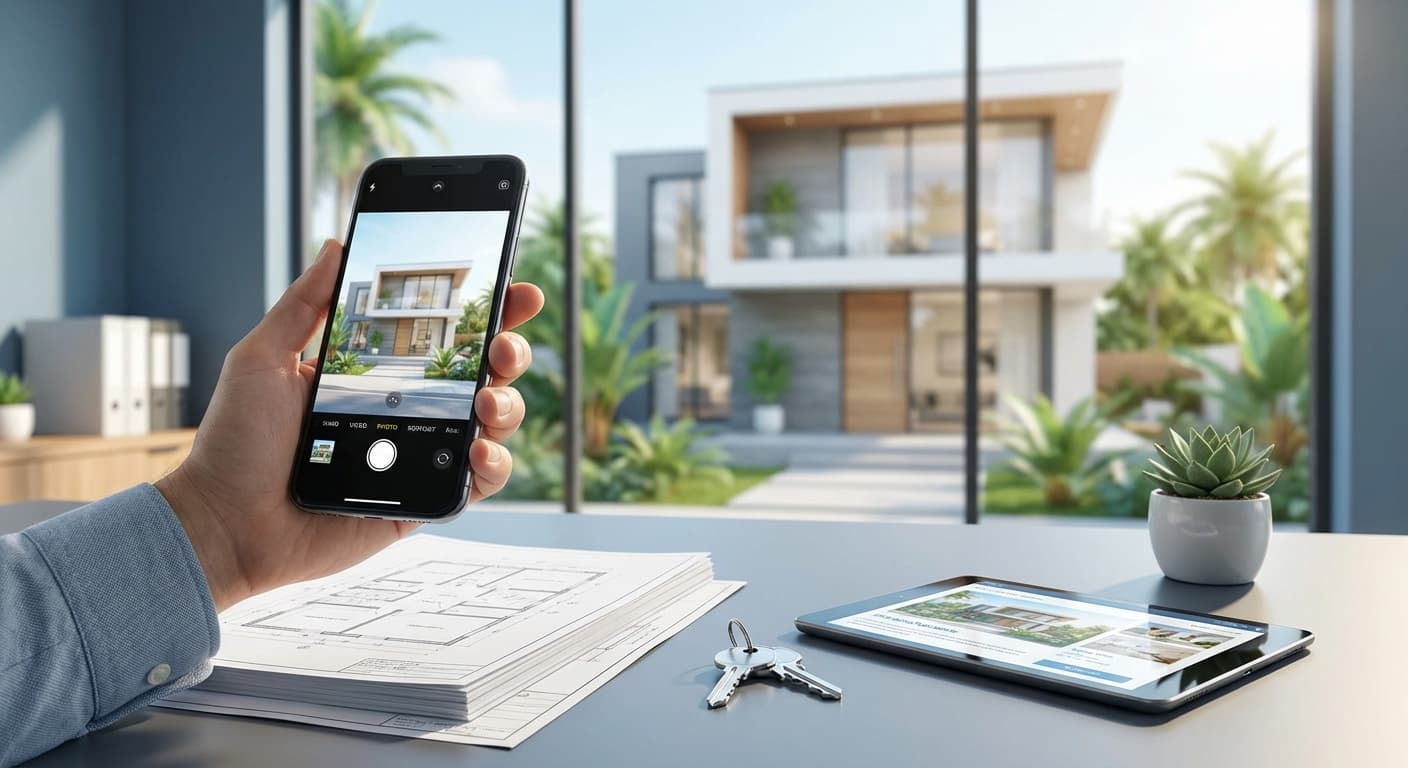
You don't need a DSLR camera worth millions to create attractive property photos. Modern smartphones are powerful enough to produce professional-quality images—as long as you know the techniques.
This article will teach you how to take property photos that attract potential buyers using just your smartphone.
$2
Statistics:
Good photos: ✅ Grab attention ✅ Accurately showcase the property ✅ Build realistic expectations ✅ Enhance agent credibility
$2
1. Clean and Organize the Property
Checklist:
Tip: Clean and organized property photos look 10x more appealing.
2. Choose the Right Time
Best times for property photos:
Interior:
Exterior:
Avoid:
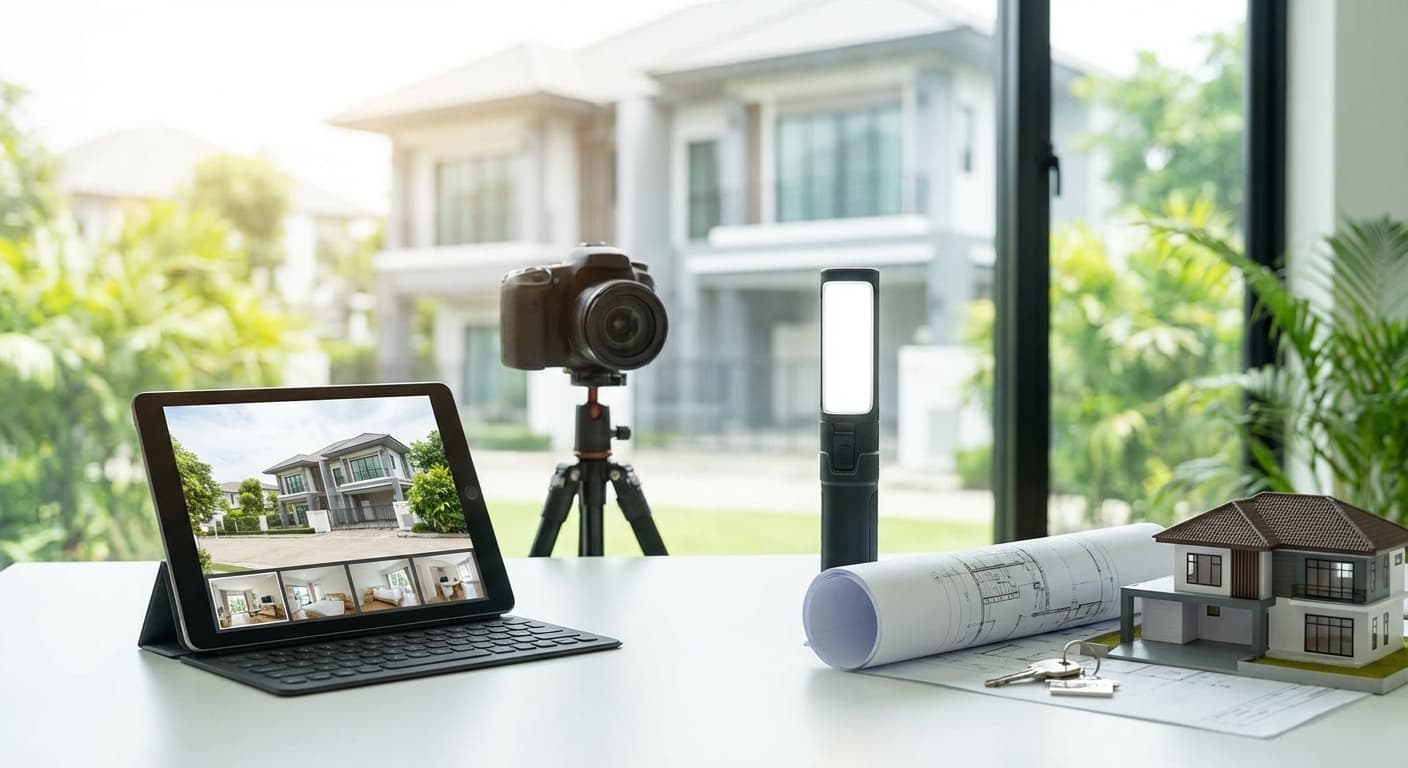
3. Tools Needed
Essential:
Optional but recommended:
$2
1. Use Wide-Angle Mode
Why? Wide-angle makes rooms look larger.
How:
Tip: Don’t go too wide to avoid distortion (curved lines). Use 0.5x or 0.7x.
2. Horizontal Angle (Eye-Level)
Rules:
Why? Horizontal and eye-level angles provide a natural perspective without distortion.
3. Rule of Thirds
How: 1. Activate the grid on your smartphone camera (Settings → Camera → Grid) 2. Position important elements at the grid intersections (not in the center) 3. Horizon line at 1/3 top or bottom (not in the middle)
Examples:
4. Natural + Artificial Lighting
Techniques:
Tips:
5. Engaging Composition
Elements to include in the photo:
Living Room:
Bedroom:
Kitchen:
Bathroom:
$2
1. Front View (Facade)
Best angle:
Tips:
2. Garden and Outdoor Areas
What to photograph:
Tips:
3. Drone Photos (Optional)
If the property has a great view or large area, consider drone photography.
Cost: Hire a drone photographer IDR 500k-1M per session
Worth it for: Premium properties (>IDR 2M), villas, large land
$2
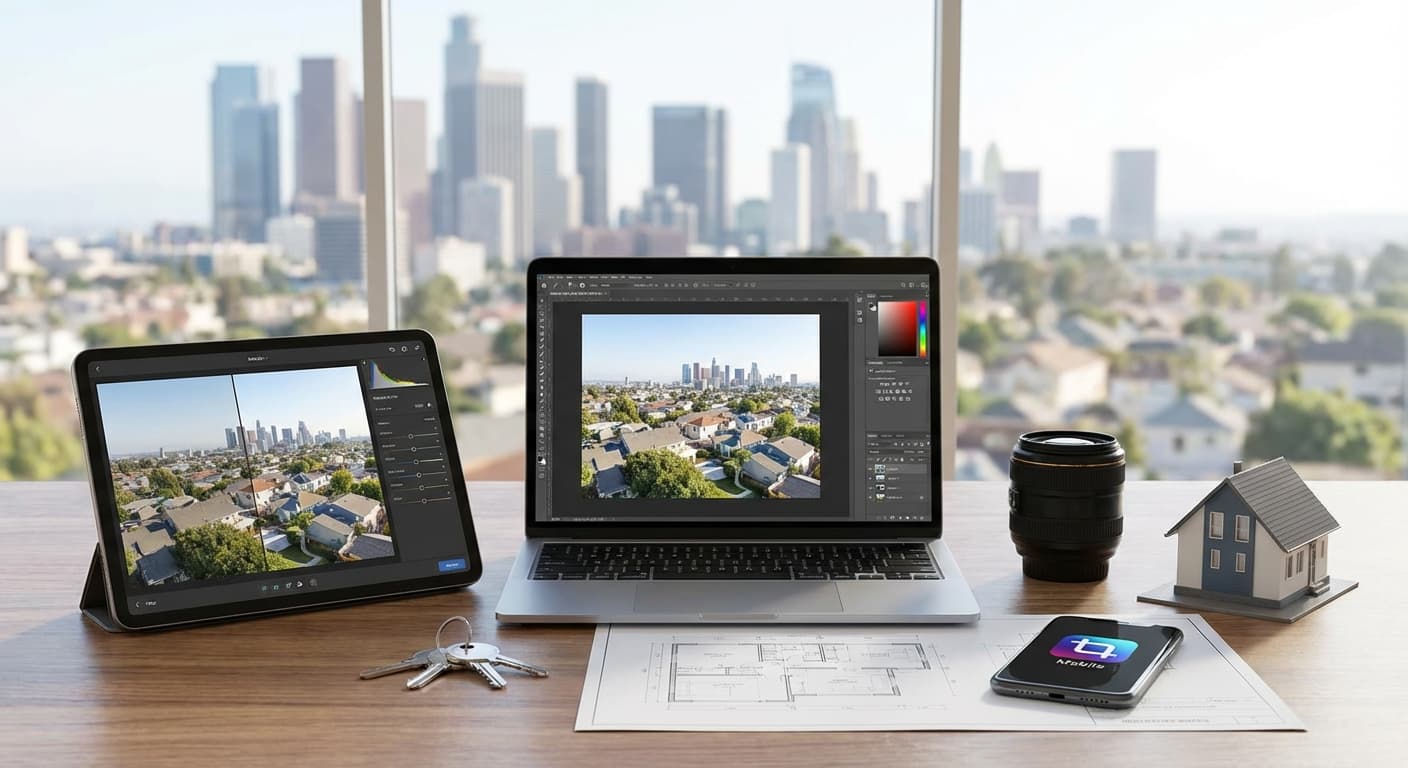
Recommended apps:
Snapseed Lightroom Mobile VSCOEditing Checklist:
1. Brightness & Exposure
2. Contrast & Clarity
3. White Balance
4. Straighten & Crop
5. Remove Distractions
Tip: Don’t over-edit! Photos should remain realistic. Potential buyers will be disappointed if the photos differ too much from reality.
$2
Exterior:
Interior:
Details:
Ideal total photos: 12-20 photos per property
$2
❌ 1. Vertical Photos
Vertical photos do not showcase the room's width.
Solution: Always shoot horizontally (landscape).
❌ 2. Photos Too Dark
Rooms appear gloomy and uninviting.
Solution: Open curtains, turn on lights, use HDR mode.
❌ 3. Photos Too Wide (Distortion)
Curved lines make rooms look odd.
Solution: Don’t use ultra-wide (0.5x) for all photos. Mix with 1x.
❌ 4. Untidy Property
Cluttered items, unmade beds.
Solution: Always tidy up before taking photos.
❌ 5. Self-Photos in the Mirror
Rookie mistake!
Solution: Shoot from an angle that doesn’t capture the mirror, or edit to remove reflections.
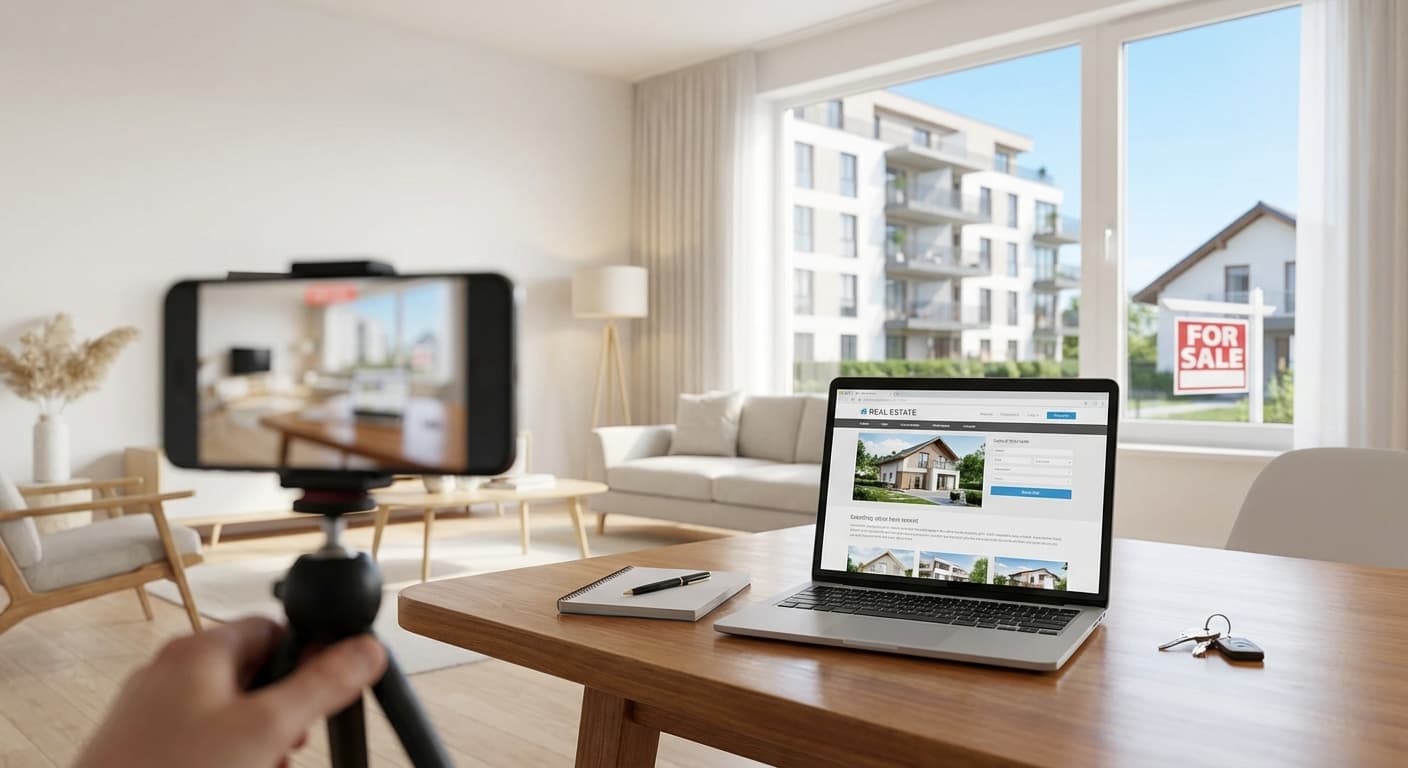
$2
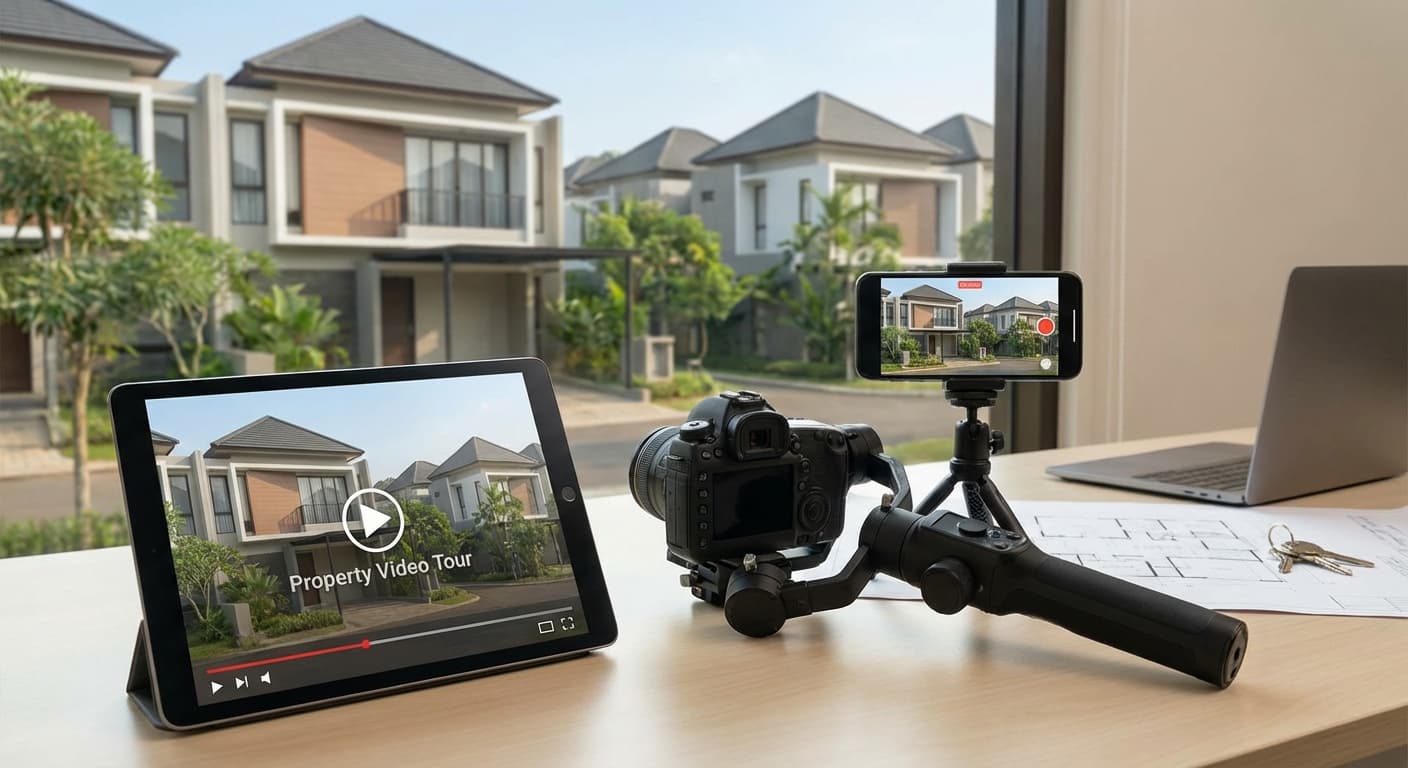
Video tour tips:
1. Use a Stabilizer/Gimbal
2. Smooth and Slow Movements
3. Ideal Duration
4. Narration or Music
5. Editing
Read also: How to Create an Engaging Property Video Tour (Article 7.4)
$2
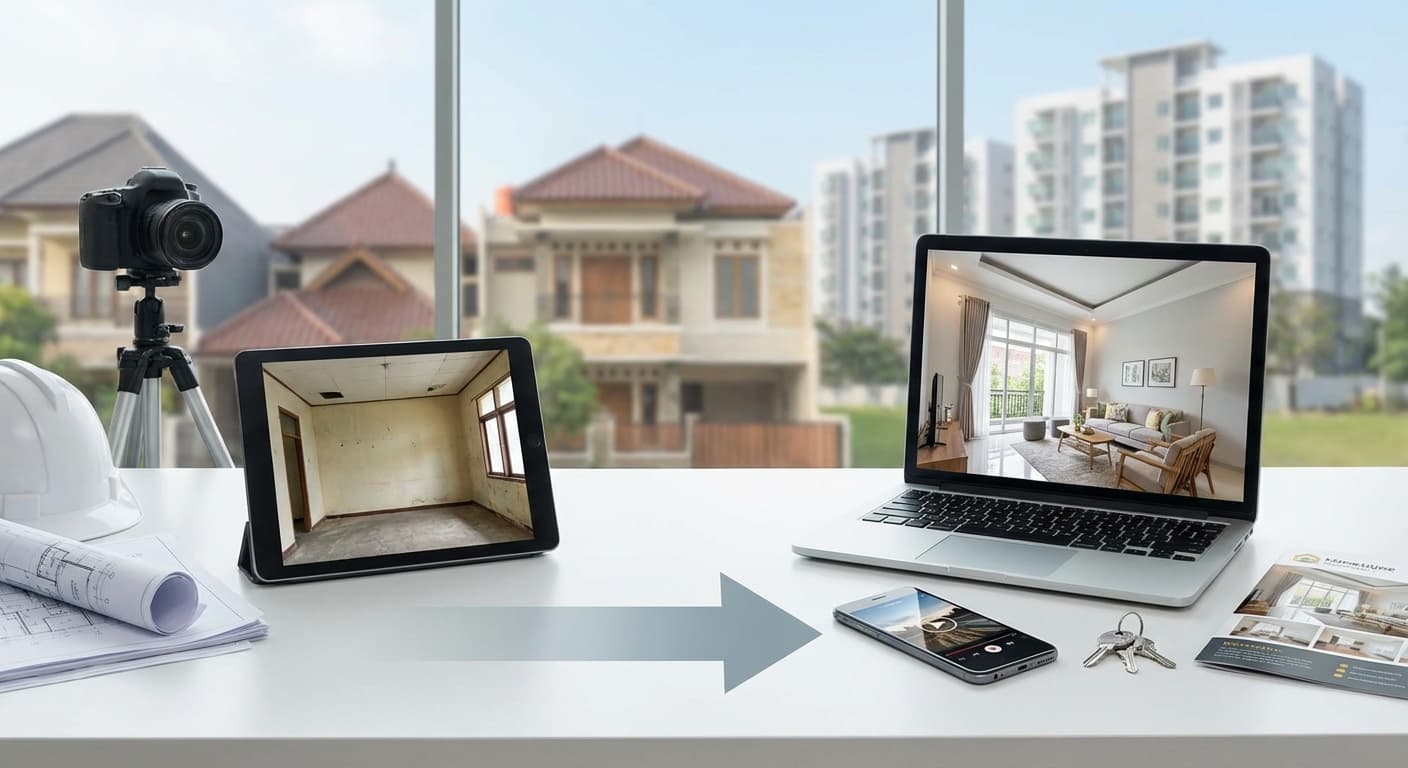
Property: 2-story house in BSD, priced at IDR 1.8M
Before (Poor Photos):
After (Professional Photos with Smartphone):
Result: Property sold in 2 weeks (previously on the market for 3 months).
$2
| Tool/App | Function | Price | |----------------------|---------------------------|------------------------| | Snapseed | Photo editing | Free | | Lightroom Mobile | Professional editing | Free - IDR 140k/month | | Smartphone Tripod| Stabilization | IDR 50k-150k | | Wide-Angle Lens | Additional lens | IDR 100k-300k | | Gimbal | Video stabilization | IDR 500k-2M | | CapCut | Video editing | Free |
$2
Professional property photos don’t require expensive cameras. With a smartphone, the right techniques, and a bit of editing, you can create photos that attract potential buyers.
Key takeaways: ✅ Tidy up the property before shooting ✅ Use natural light + lamps ✅ Shoot horizontally with wide-angle ✅ Edit to enhance (but don’t over-edit) ✅ 12-20 photos per property
Next steps: 1. Practice! Photograph 1 property using the techniques in this article 2. Edit and compare with old photos 3. Upload to your property catalog (Katroom) 4. Monitor: Did inquiries increase?
$2
Ready to upload your professional property photos?
Sign up at Katroom and create a property catalog with high-quality images!
Related Articles:
10 Tips for Attractive Interior Property Photos Exterior Property Photos: Best Angles and Times How to Create an Engaging Property Video Tour How to Create a Professional Online Property Catalog- 90% of potential buyers look at photos before deciding to view a property
- Listings with high-quality photos receive 3x more inquiries
- Poor photos = potential buyers scroll and move on
- [ ] Sweep and mop the floors
- [ ] Arrange furniture and decorations
- [ ] Hide personal items (family photos, children's toys)
- [ ] Open all curtains/blinds for natural light
- [ ] Turn on all lights
- [ ] Tidy up the garden and exterior areas
- Morning (9-11 AM): Natural light comes in, not too bright
- Afternoon (3-5 PM): Golden hour, warm and soft light
- Morning (8-10 AM): Soft light, blue sky
- Afternoon (4-6 PM): Golden hour, more dramatic photos
- Midday (12-2 PM): Light is too harsh, hard shadows
- Night: Except for exterior photos with lights (showcase lighting)
- Smartphone with a good camera (minimum 12MP)
- Steady hands (or a mini tripod)
- Smartphone tripod (IDR 50k-150k)
- Gimbal/stabilizer (for video tours)
- Wide-angle lens clip-on (IDR 100k-300k)
- iPhone: Use the 0.5x or Ultra Wide lens
- Android: Activate Wide or Ultra Wide mode
- Clip-on lens: Attach a wide-angle lens to the smartphone camera
- Hold the smartphone horizontally (landscape), not vertically
- Position the camera at chest/eye height (about 1.2-1.5 meters from the floor)
- Avoid shooting from above or below (unless for specific effects)
- Living room photo: Sofa on the 1/3 left, window on the 1/3 right
- Exterior photo: House on the 1/3 bottom, sky on the 2/3 top
- Open all curtains for natural light
- Turn on all lights (even during the day)
- Avoid backlit photos (light coming from behind the subject)
- If the room is dark, use flash (but don’t point it directly at the subject)
- Use HDR mode to balance bright and dark areas
- Sofa/main furniture
- Window (for light)
- Decorations (art, plants)
- Part of other rooms (for context)
- Bed (make it tidy!)
- Window
- Closet (doors closed)
- Decorations
- Kitchen set
- Stove and sink
- Window
- Dining table (if available)
- Toilet and sink
- Shower/bathtub
- Mirror (clean it!)
- Don’t take a photo of yourself in the mirror!
- Shoot from a slight angle (45 degrees), not straight from the front
- Capture 2 sides of the house for dimension
- Include part of the garden/carport
- Shoot when the sky is blue (morning or afternoon)
- Ensure no cars/motorcycles obstruct the view
- Tidy up the garden and front area
- Front and back gardens
- Carport/garage
- Swimming pool (if available)
- BBQ/outdoor area (if available)
- Take photos from various angles
- Highlight unique features (gazebo, beautiful garden, etc.)
- (Free, powerful)
- (Free, professional)
- (Free, aesthetic filters)
- Slightly increase brightness (don’t overdo it)
- Adjust exposure to balance light and dark
- Increase contrast for a more "pop" effect
- Increase clarity for sharper details
- Adjust temperature (don’t make it too yellow or blue)
- Property photos usually look better with a warm tone (slightly yellow)
- Ensure horizontal lines are straight (use grid)
- Crop for better composition
- Use the healing tool to remove spots on walls
- Remove distracting cables
- Eliminate unnecessary objects
- [ ] Front view (facade)
- [ ] Side view
- [ ] Front garden
- [ ] Back garden
- [ ] Carport/garage
- [ ] Swimming pool (if available)
- [ ] Living room
- [ ] Family room
- [ ] Kitchen
- [ ] Dining room
- [ ] Master bedroom
- [ ] Bedrooms 2 & 3
- [ ] Master bathroom
- [ ] Bathroom 2
- [ ] Balcony/terrace (if available)
- [ ] Office space (if available)
- [ ] Kitchen set close-up
- [ ] Bathroom fixtures
- [ ] Built-in wardrobe
- [ ] Unique features (fireplace, skylight, etc.)
- Shaky video = unprofessional
- Smartphone gimbal: IDR 500k-2M
- Don’t move too quickly
- Use horizontal (pan) or forward (dolly) movements
- Short tour: 30-60 seconds (for Instagram Reels)
- Full tour: 2-3 minutes (for YouTube/Facebook)
- Add narration (explain each room)
- Or use upbeat background music
- Apps: CapCut, InShot, iMovie
- Add text overlay (price, specifications)
- Smooth transitions between rooms
- Photos taken with an old phone (5MP)
- Dark rooms
- Untidy
- Poor angles
- Inquiries: 2-3 per week
- Photos taken with iPhone 13 (wide-angle)
- Natural light + lamps
- Tidy property
- Optimal angles
- Edited in Snapseed
- Inquiries: 15-20 per week
- (Article 7.2)
- (Article 7.3)
- (Article 7.4)
- (Article 3.1)
About the Author: This article is written by the Katroom team, a bio link and online catalog platform designed specifically for Indonesian property agents.
Last updated: February 2025