Renovation documentation adalah secret weapon yang underutilized oleh most property agents. Before-after photos bukan hanya showcase transformation—they tell compelling story, demonstrate value, dan create emotional connection dengan buyers. Properties dengan documented renovations terjual 30% lebih cepat dan command 10-15% premium dibanding similar properties tanpa documentation.
Tapi banyak agent yang miss opportunity ini karena tidak tahu cara document properly atau think it's too complicated. Di artikel ini, Anda akan belajar systematic approach untuk create stunning before-after documentation yang sells properties dan builds your portfolio!
Key Takeaways
Before-after photos increase perceived value Consistency is crucial Document EVERYTHING Time-lapse video Portfolio building Marketing gold- hingga 15% dan accelerate sales 30%
- : Same angle, lighting, dan framing untuk compelling comparison
- : Even small changes add up to big impact
- creates viral-worthy content (300% more engagement)
- : Renovation docs showcase your expertise
- : Repurpose untuk social media, website, case studies
- Shows money invested
- Justifies higher asking price
- Proves quality of work
- Transparent documentation
- See what's been updated
- Understand property history
- Appreciate transformation
- Feel confident in purchase
- Kitchen renovation: Rp 100 juta
- Before-after photos show transformation
- Buyers willing to pay Rp 150 juta premium
- Transformation stories are compelling
- Buyers imagine their own transformation
- Before-after creates "wow" moment
- Emotional decisions drive purchases
- of buyers say before-after photos influence decision
- share before-after content (viral potential!)
- more likely to schedule viewing
- Showcase expertise
- Demonstrate results
- Attract renovation clients
- Differentiate from competition
- Prove capabilities
- Show quality of work
- Generate referrals
- Marketing materials
- Before-after posts get
- Highly shareable content
- Viral potential
- Builds following
- Instagram: Carousel posts, Reels
- TikTok: Transformation videos
- Facebook: Before-after albums
- YouTube: Time-lapse videos
- Website portfolio
- Marketing brochures
- Client presentations
- Success stories
- Testimonials
- Builds credibility
- Demonstrates expertise
- Attracts similar clients
- Premium positioning
- ✅ Discuss documentation plan dengan owner/contractor
- ✅ Get permission to photograph
- ✅ Establish access schedule
- ✅ Clarify usage rights (marketing, portfolio)
- How often you'll visit
- What you'll photograph
- How long it takes
- Final deliverables
- Camera/smartphone (fully charged)
- Tripod (essential!)
- Measuring tape (for reference points)
- Notebook (document angles, settings)
- Extra batteries/memory cards
- Identify best angles untuk each room
- Mark positions (tape on floor)
- Note lighting conditions
- Plan shot list
- Use fixed elements (windows, doors, outlets)
- Measure distances from walls
- Document camera height
- Take reference photos
- Same angle = easy comparison
- Different angles = confusing
- Professional vs amateur difference
- : Capture original condition
- : Shows scope of work
- : Progress documentation
- : Final result
- Same time untuk all phases
- : 9-11 AM (consistent lighting)
- Overcast days (even lighting)
- Avoid harsh midday sun
- Same camera/smartphone
- Same settings (if possible)
- Same orientation (horizontal vs vertical)
- Same resolution
- Highest resolution
- HDR: ON
- Grid: ON (for alignment)
- Flash: OFF
- Lock exposure (tap & hold)
- Aperture: f/8-f/11 (sharp throughout)
- ISO: 400-800 (consistent)
- Shutter: Whatever needed (use tripod!)
- White Balance: Daylight (consistent color)
- Format: RAW (editing flexibility)
- untuk consistency
- Same height every time
- Same angle every time
- Sharp, stable shots
- : Chest height (4-5 feet)
- Measure & document
- Use same height untuk all phases
- Include full room (floor to ceiling)
- Leave some space around edges
- Capture context (doors, windows)
- Consistent framing = easy comparison
- Use camera grid
- Align horizontal lines (floor, ceiling)
- Align vertical lines (walls, doors)
- Straight photos are crucial!
- Wide shot from doorway
- Wide shot from corner
- Detail shots (features, issues)
- Multiple angles (2-3 per room)
- Kitchen: Cabinets, counters, appliances
- Bathroom: Vanity, shower/tub, fixtures
- Living areas: Walls, floors, ceilings
- Exterior: Facade, landscaping, features
- Damaged areas (before repair)
- Outdated features (before replacement)
- Problem areas (before fixing)
- Unique elements (before/after)
- Ceilings (lighting, condition)
- Floors (material, condition)
- Windows (frames, glass)
- Doors (style, hardware)
- Fixtures (lights, outlets)
- Shows scope of work
- Demonstrates quality
- Creates timeline story
- Educational content
- Behind-the-scenes appeal
- : Demolition, framing, electrical, etc
- : For longer projects
- : For time-lapse videos
- Removal of old materials
- Exposed structure
- Scope of work visible
- Framing changes
- New walls/openings
- Foundation work
- Electrical wiring
- Plumbing pipes
- HVAC ducts
- Insulation installation
- Drywall hanging
- Taping & mudding
- Painting
- Flooring installation
- Fixture installation
- Hardware installation
- Cleaning
- Staging
- Same angles as "before" photos
- Same time of day
- Same camera settings
- Use tripod & reference points
- Wear appropriate gear (hard hat, boots)
- Don't interfere dengan work
- Get contractor permission
- Be aware of hazards
- Coordinate dengan contractor
- Schedule visits in advance
- Don't disrupt work
- Be respectful of timeline
- After complete completion
- After cleaning
- After staging (if applicable)
- Same time of day as "before"
- ✅ Deep clean entire property
- ✅ Remove construction debris
- ✅ Stage rooms (furniture, decor)
- ✅ Turn on all lights
- ✅ Open curtains
- ✅ Fresh flowers/plants
- as before photos
- (use reference points)
- (measure!)
- (time of day)
- Review "before" photos on-site
- Use reference points (windows, outlets)
- Measure camera position
- Use tripod at same height
- Align grid lines
- Take multiple shots (ensure match)
- Furnished rooms show scale
- Decor adds warmth
- Plants add life
- Creates aspirational feel
- Turn on all lights
- Open curtains
- Same lighting as "before"
- Bright & inviting
- Fresh towels (bathroom)
- Place settings (dining)
- Throw pillows (living room)
- Books, decor (shelves)
Why Document Renovations?
1. Demonstrate Value & ROI
For Sellers:
For Buyers:
Example:
ROI: 150%!2. Create Emotional Connection
Psychology:
Impact:
70% 85% 60%3. Build Your Portfolio
For Agents:
For Contractors/Flippers:
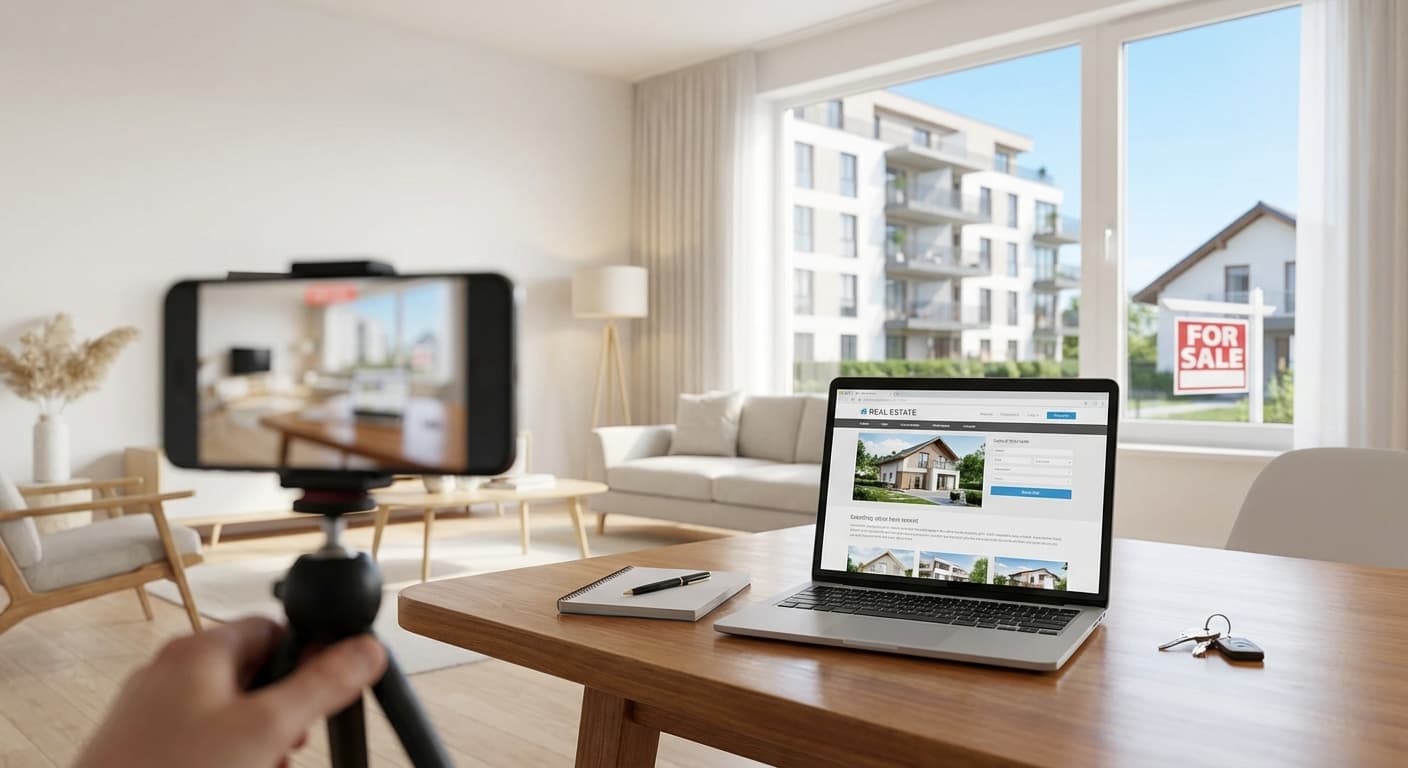
4. Social Media Content
Engagement:
300% more engagementPlatforms:
5. Case Studies & Marketing
Uses:
Impact:
Planning Your Documentation
Before Renovation Starts
Initial Meeting:
Set Expectations:
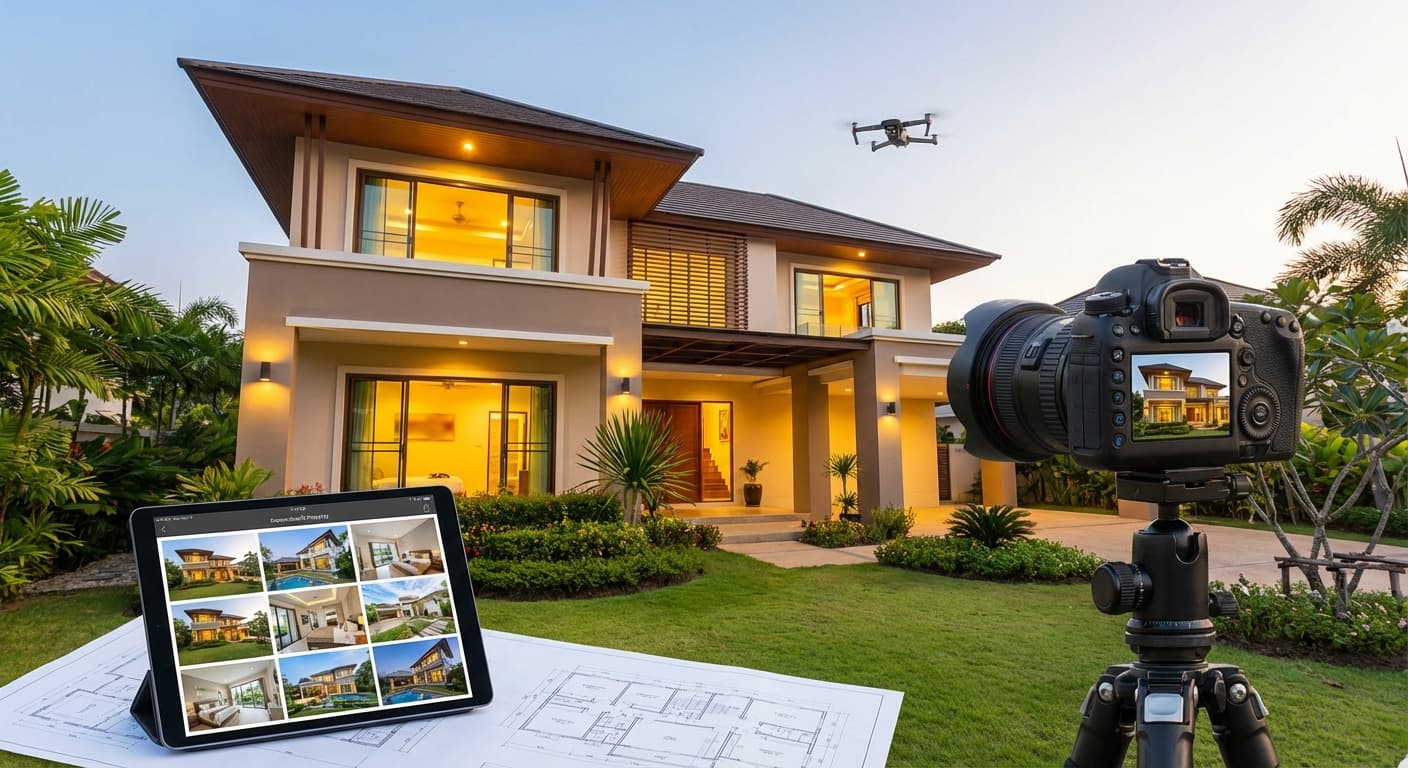
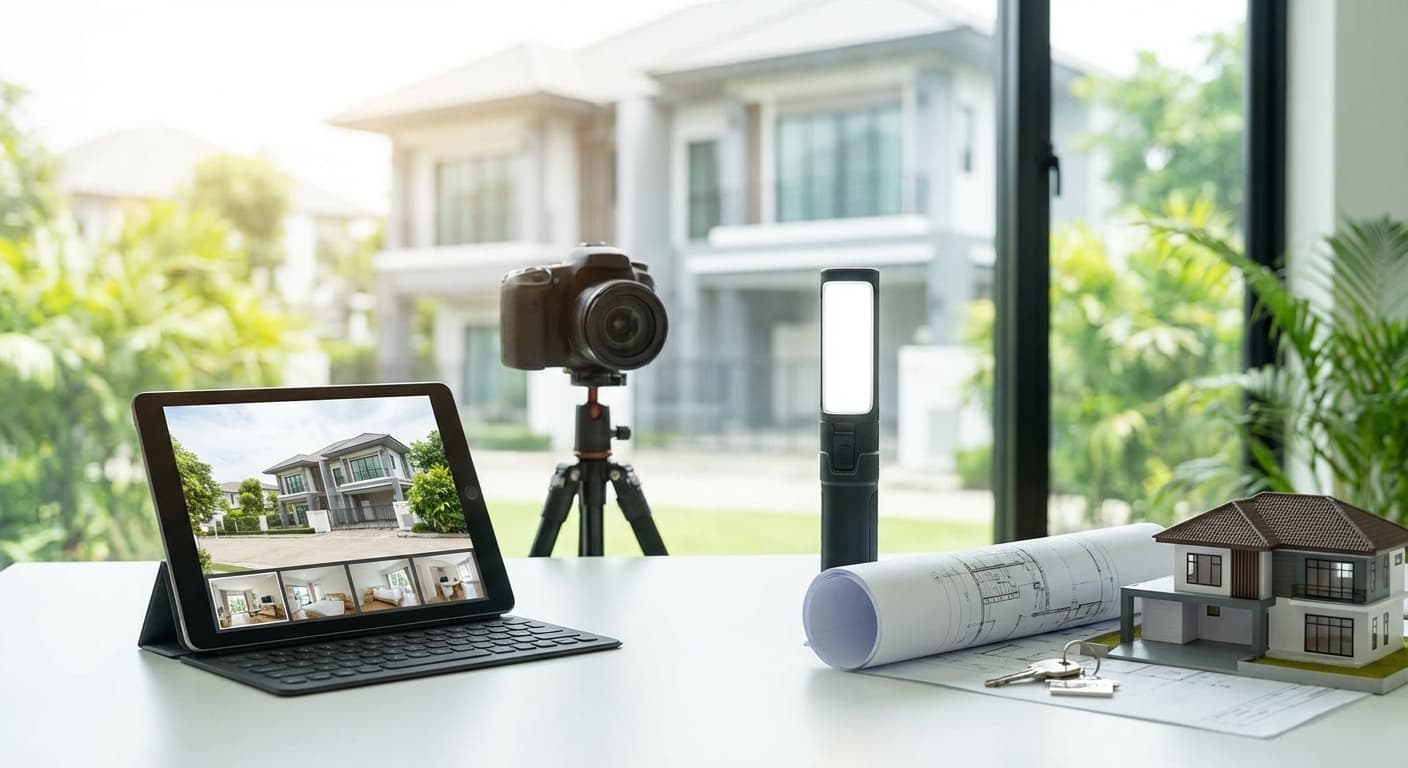
Equipment Checklist:
Identify Key Angles
Walk Through Property:
Reference Points:
Why Consistency Matters:
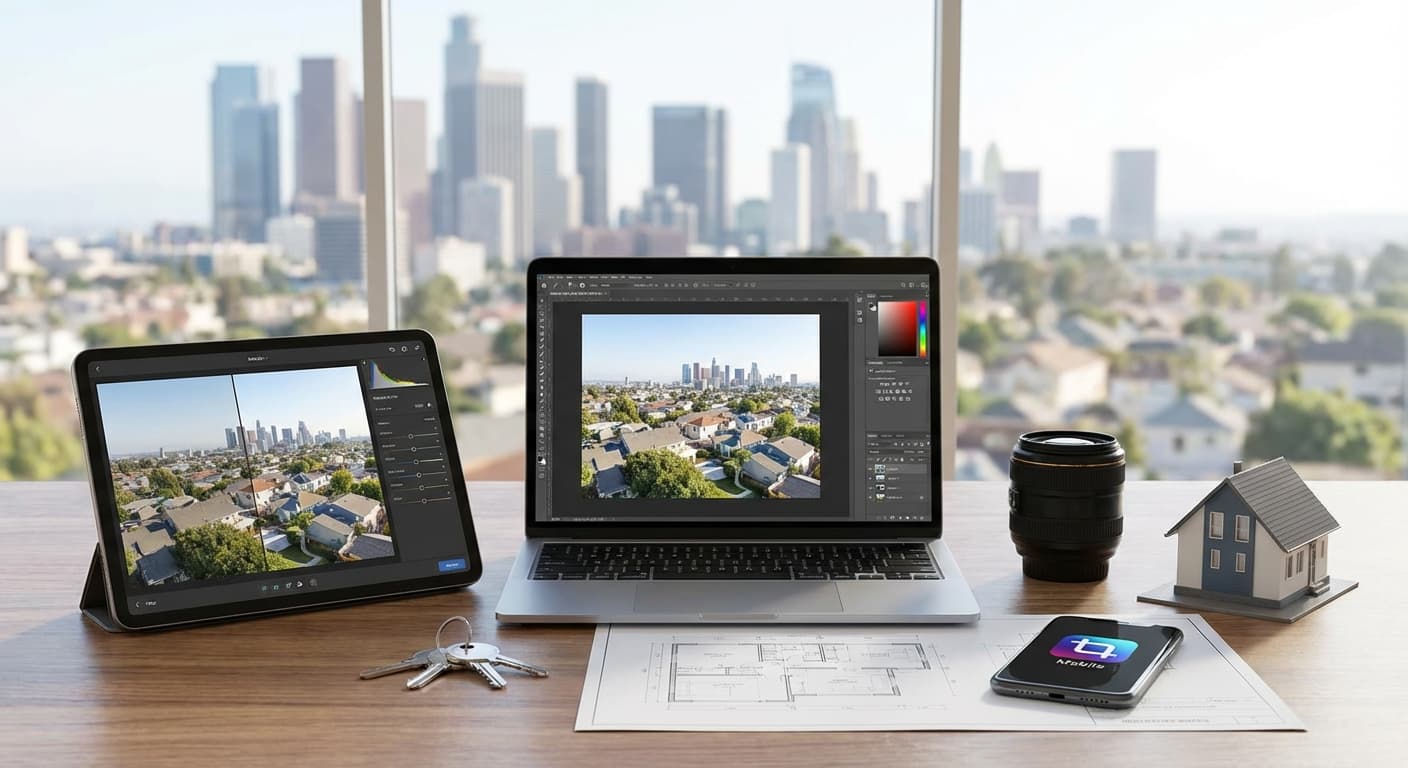
Before Photos: Getting It Right
Timing
When to Shoot:
Before any work starts After demolition During construction After completionBest Time of Day:
RecommendationCamera Settings
Consistency is Key:
Recommended Settings:
Smartphone:
DSLR/Mirrorless:
Composition & Framing
Use Tripod:
EssentialHeight:
StandardFraming:
Grid Lines:
What to Photograph
Every Room:
Specific Areas:
Details:
Don't Forget:
💡 Pro Tip: Take MORE photos than you think you need. You can always delete, but can't go back in time!
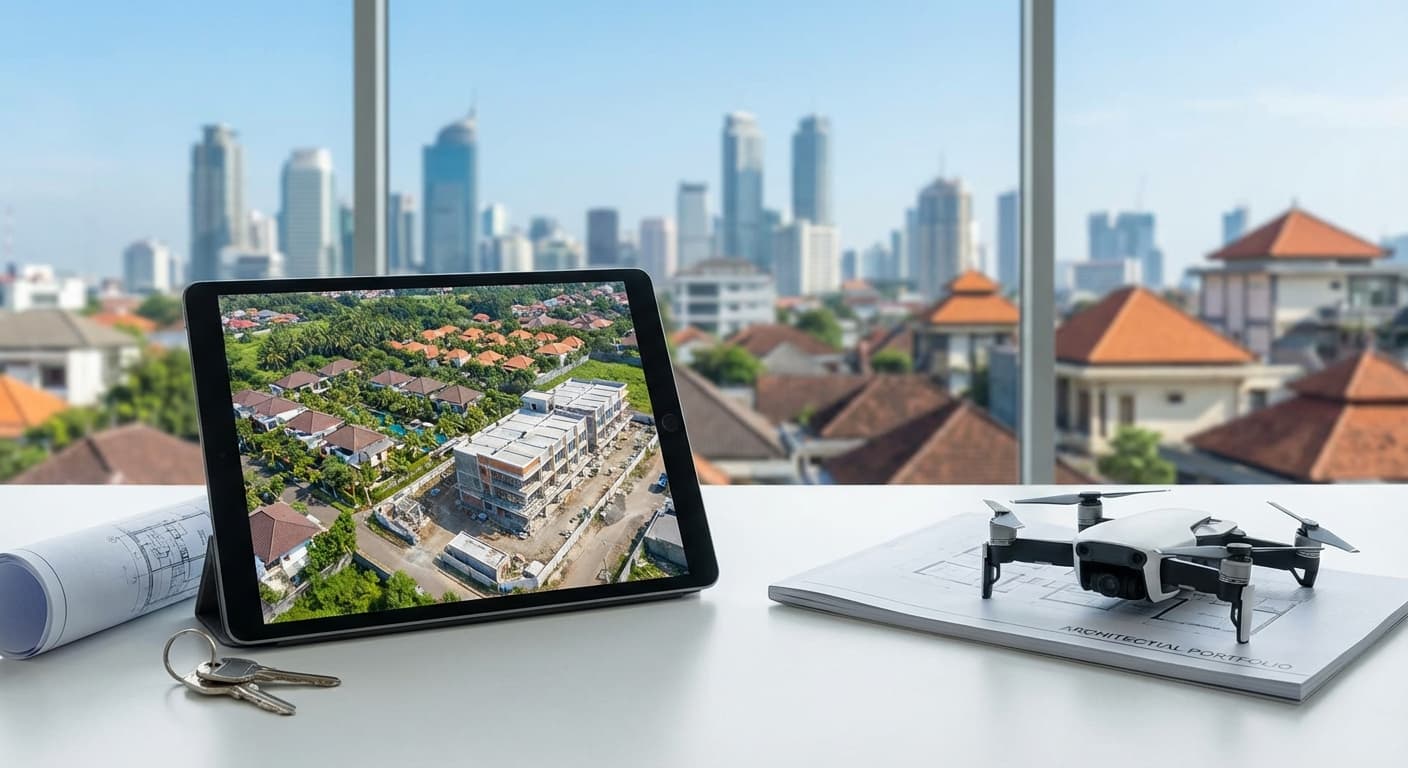
During Renovation: Progress Documentation
Why Document Progress?
Benefits:
Frequency:
Major milestones Weekly DailyKey Milestones to Capture
1. Demolition:
2. Structural Work:
3. Rough-In:
4. Insulation & Drywall:
5. Finishes:
6. Final Touches:
Progress Photography Tips
Consistency:
Safety:
Communication:
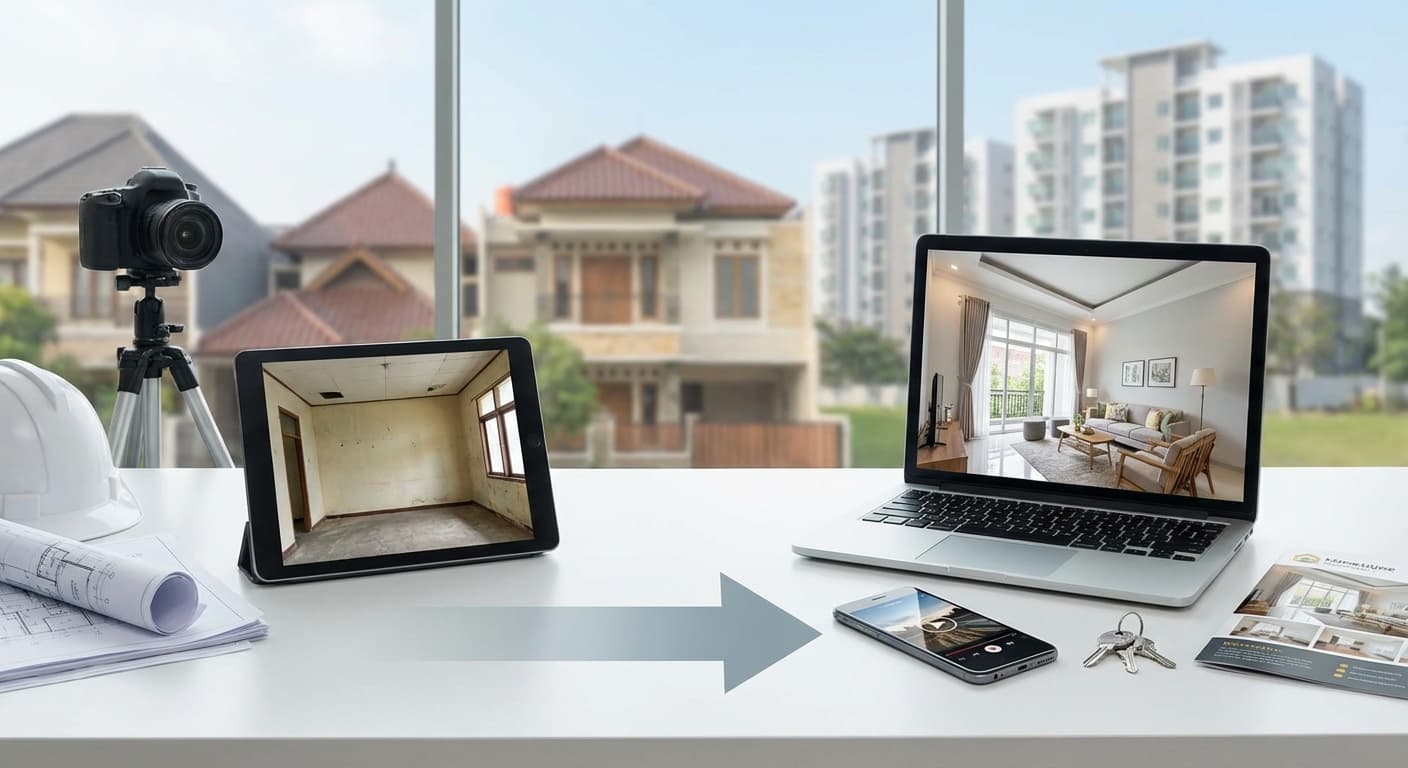
After Photos: Showcasing Transformation
Timing
When to Shoot:
Preparation:
Matching Before Photos
Critical:
Exact same angle Same framing Same height Same lightingHow to Match:
Styling for Impact
Staging:
Lighting:
Details:
💡 Baca Juga: 10 Tips Foto Interior Properti yang Menarik
Creating Compelling Before-After Comparisons
Side-by-Side Format
Layout:
[Before] | [After]
Best For:
- Print materials
- Website galleries
- Presentations
- Detailed comparison
- Photoshop: Place images side-by-side
- Canva: Use comparison template
- Lightroom: Export & combine
- Mobile apps: Before-After apps
- Drag slider to reveal before/after
- Engaging user experience
- Great untuk websites
- High engagement
- Website plugins (WordPress, etc)
- Instagram: Carousel posts
- Dedicated apps: Juxtapose, Before-After
- Fade from before to after
- Dramatic reveal
- Great untuk social media
- Viral potential
- Video editing software
- Simple crossfade transition
- 2-3 seconds per image
- Add music
- Swipe through multiple before-afters
- Each room = 2 slides (before, after)
- Engaging format
- High engagement
- Label clearly ("BEFORE" / "AFTER")
- Consistent style
- Compelling caption
- Call-to-action
- Condense weeks/months into seconds
- Mesmerizing to watch
- Highly shareable (viral potential)
- Shows scope of work
- than static photos
- Social media (Instagram, TikTok, YouTube)
- Website portfolio
- Client presentations
- Marketing materials
- GoPro atau action camera (Rp 3-8 juta)
- Tripod (fixed position)
- Power source (AC adapter)
- Large memory card
- Interval: 30 seconds to 5 minutes
- Duration: Entire renovation
- Resolution: 4K (future-proof)
- ✅ Highest quality
- ✅ Automated
- ✅ Smooth result
- ❌ Expensive equipment
- ❌ Security concerns (camera on-site)
- ❌ Power requirements
- (iOS/Android, free)
- (iOS/Android, free)
- (Instagram, iOS only)
- Visit site regularly (daily/weekly)
- Take photo from same position
- Import photos to app
- Create time-lapse
- Export & share
- ✅ No extra equipment
- ✅ Flexible schedule
- ✅ Free/cheap
- ❌ Requires regular visits
- ❌ Consistency challenging
- ❌ Less smooth than dedicated camera
- Adobe Premiere Pro
- Final Cut Pro
- DaVinci Resolve (free!)
- iMovie (Mac, free)
- Take photos at regular intervals
- Import to video editor
- Set duration (0.1-0.5 seconds per photo)
- Export as video
- ✅ Complete control
- ✅ Use existing photos
- ✅ Flexible
- ❌ Requires editing skills
- ❌ Time-consuming
How to Create:
Slider Format
Interactive:
Tools:
Overlay/Fade Format
Video:
How to Create:
Carousel Posts (Instagram)
Format:
Tips:
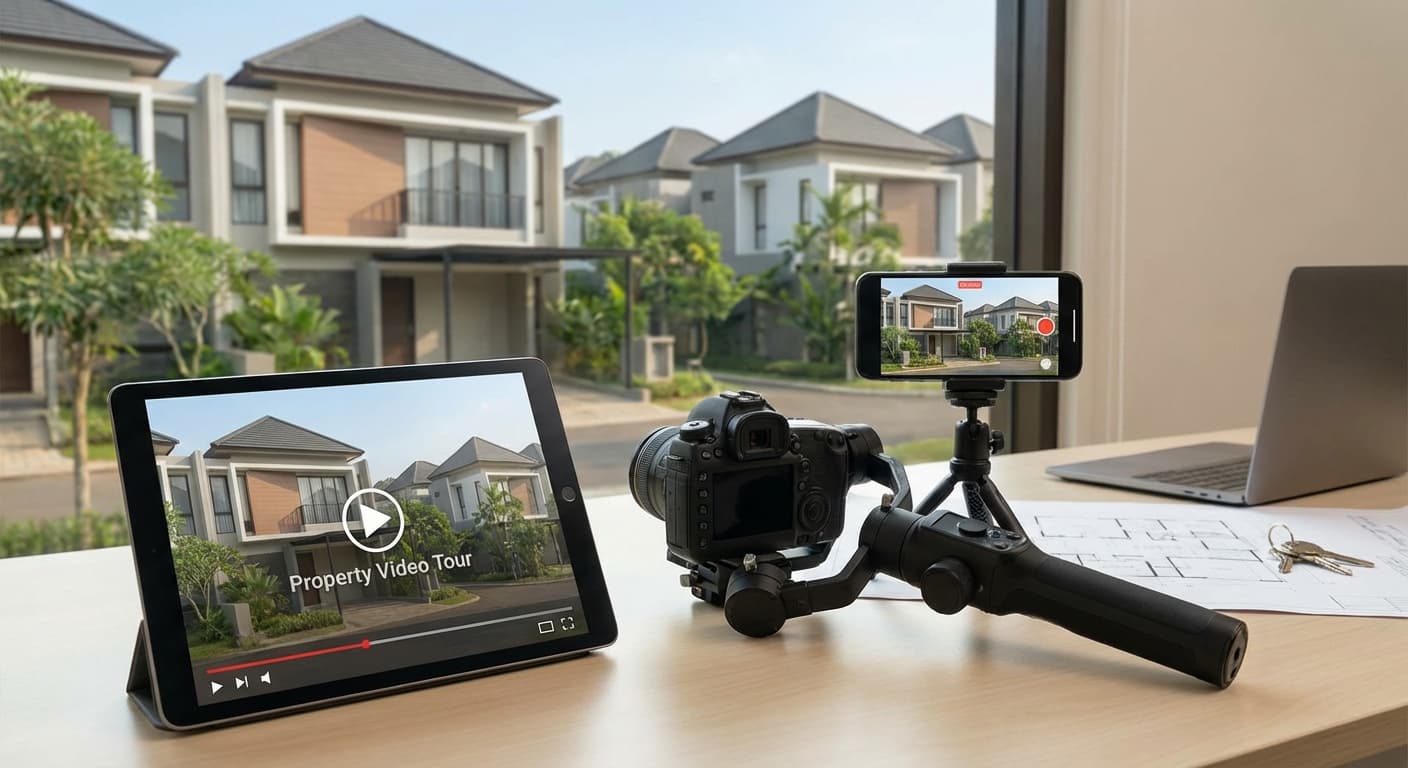
Time-Lapse Videos
Why Time-Lapse?
Benefits:
300% more engagementUses:
How to Create Time-Lapse
Method 1: Dedicated Camera
Equipment:
Settings:
Pros:
Cons:
Method 2: Smartphone + App
Apps:
Framelapse Lapse It HyperlapseProcess:
Pros:
Cons:
Method 3: Compile Photos in Editing
Software:
Process:
Pros:
Cons:
💡 Recommendation: Method 2 (smartphone + app) untuk best balance of quality, cost, dan convenience!
Organizing & Storing Documentation
File Naming Convention
Format:
[Address]_[Phase]_[Room]_[Date]_[Number].jpg
Example:
JlSudirman123_Before_Kitchen_20250210_01.jpg
JlSudirman123_During_Kitchen_20250315_01.jpg
JlSudirman123_After_Kitchen_20250420_01.jpg
Benefits:
- Easy to find
- Chronological order
- Clear organization
- Professional
Folder Structure
Properties/
 └── Jl-Sudirman-123-Renovation/
 ├── 01-Before/
 │ ├── Exterior/
 │ ├── Living-Room/
 │ ├── Kitchen/
 │ └── Bedrooms/
 ├── 02-During/
 │ ├── Week-1-Demolition/
 │ ├── Week-2-Framing/
 │ └── Week-3-Finishes/
 ├── 03-After/
 │ ├── Exterior/
 │ ├── Living-Room/
 │ └── Kitchen/
 └── 04-Comparisons/
 ├── Side-by-Side/
 ├── Time-Lapse/
 └── Social-Media/
Backup Strategy
3-2-1 Rule:
3 2 1- copies of data
- different media types
- off-site backup
- Original on computer
- External hard drive
- Cloud storage (Google Drive, Dropbox)
- Hard drives fail
- Computers crash
- Fire, theft, disasters
- : Swipe through before-after
- : Time-lapse transformations
- : Behind-the-scenes progress
- : Save best renovations
- : Viral potential
- : Mesmerizing content
- : High engagement
- : Boost reach
- : Complete renovation story
- : Shareable
- : Time-lapse
- : Share in local groups
- : Long-form content
- : Satisfying to watch
- : Educational
- : Search traffic
- "Renovation Portfolio"
- "Before-After Gallery"
- "Success Stories"
- High-quality before-after photos
- Project details (scope, timeline, budget)
- Client testimonials
- Video time-lapse
- Keyword-rich content
- Engaging visuals
- Longer time on site
- Shareable content
- Feature recent renovations
- Before-after highlights
- Success stories
- Call-to-action (schedule consultation)
- Series of renovation tips
- Include before-after examples
- Build trust & expertise
- Generate leads
- Before-after case studies
- Demonstrate capabilities
- Professional appearance
- "Just Sold" dengan before-after
- Neighborhood farming
- Tangible marketing
- 15 photos from 5 angles
- Documented: Old cabinets, counters, appliances, flooring
- Time: 9 AM (consistent lighting)
- Equipment: iPhone + tripod
- Weekly progress photos
- Same 5 angles
- Documented: Demolition, plumbing, electrical, installation
- 50+ photos total
- 15 photos from same 5 angles
- Staged dengan: Fresh flowers, fruit bowl, coffee maker
- Same time (9 AM), same lighting
- Professional result
- Instagram carousel: 2,500 likes, 150 comments
- TikTok time-lapse: 50K views, 3K likes
- Website portfolio: 500 views/month
- Generated 15 renovation inquiries
- Listed at Rp 3.5 miliar (Rp 200 juta premium)
- 25 showings in first week
- 3 offers above asking
- Sold in 12 days (vs 45 days average)
- Documentation time: 10 hours
- Documentation cost: Rp 0 (smartphone + free apps)
- Premium achieved: Rp 200 juta
- ✅ Plan documentation before work starts
- ✅ Get permission from owner/contractor
- ✅ Identify key angles & reference points
- ✅ Take comprehensive "before" photos
- ✅ Document weekly progress
- ✅ Maintain consistency (angles, lighting, timing)
- ✅ Organize files systematically
- ✅ Backup regularly
- ✅ Take matching "after" photos
- ✅ Create before-after comparisons
- ✅ Produce time-lapse video
- ✅ Share on social media & website
- ✅ Build renovation portfolio
- ✅ Analyze what content performs best
- ✅ Refine documentation process
- ✅ Use untuk marketing & lead generation
- : Same angles, lighting, timing
- : More is better than less
- : Systematic naming & storage
- : 3-2-1 rule
- : Social media, website, print
- : Transformation creates emotional connection
- : Each project showcases expertise
Example:
Why:
Your documentation is valuable!Marketing Your Before-After Content
Social Media Strategy
Instagram:
Carousel posts Reels Stories HighlightsTikTok:
Transformation videos Time-lapse Before-after reveals Trending audioFacebook:
Albums Before-after posts Video GroupsYouTube:
Full renovation videos Time-lapse Narrated tours SEO benefitsWebsite Portfolio
Dedicated Page:
Content:
SEO Benefits:
Email Marketing
Newsletter:
Drip Campaign:
Print Materials
Brochures:
Postcards:
Common Mistakes to Avoid
Mistake #1: Inconsistent Angles
Problem: Can't compare if angles different
Solution: Use tripod, reference points, measurements
Mistake #2: Different Lighting
Problem: Before dark, after bright = unfair comparison
Solution: Shoot same time of day, same weather
Mistake #3: Not Documenting Enough
Problem: Missing key transformations
Solution: Over-document, delete later if needed
Mistake #4: Poor Organization
Problem: Can't find photos when needed
Solution: Systematic file naming & folder structure
Mistake #5: No Backup
Problem: Lose all documentation if device fails
Solution: 3-2-1 backup strategy
Mistake #6: Forgetting Staging
Problem: After photos look empty/cold
Solution: Stage rooms before final photos
Mistake #7: Not Getting Permission
Problem: Legal issues, can't use photos
Solution: Written permission from owner/contractor
Case Study: Kitchen Renovation
Project Details
Property: 3BR house, Jl. Sudirman, Jakarta
Scope: Complete kitchen renovation
Budget: Rp 150 juta
Timeline: 8 weeks
Result: Sold for Rp 200 juta premium
Documentation Process
Before (Week 0):
During (Weeks 1-7):
After (Week 8):
Results
Marketing:
Sales:
ROI:
ROI: Infinite!Kesimpulan
Renovation documentation adalah powerful tool yang transforms good listings into great ones. Dengan systematic approach—consistent angles, proper timing, thorough documentation—Anda bisa create compelling before-after content yang sells properties faster, commands premium prices, dan builds your professional portfolio.
Action Plan:
Next Renovation Project:
During Renovation:
After Completion:
Ongoing:
Remember:
Consistency is crucial Document everything Organization matters Backup religiously Market strategically Tell the story Build portfolioStart documenting your next renovation today, dan watch your marketing impact multiply! 🏗️📸
Baca Juga:
Cara Foto Properti Profesional dengan Smartphone Cara Membuat Video Tour Properti yang Engaging Editing Foto Properti: Apps dan Tools Terbaik untuk Agent