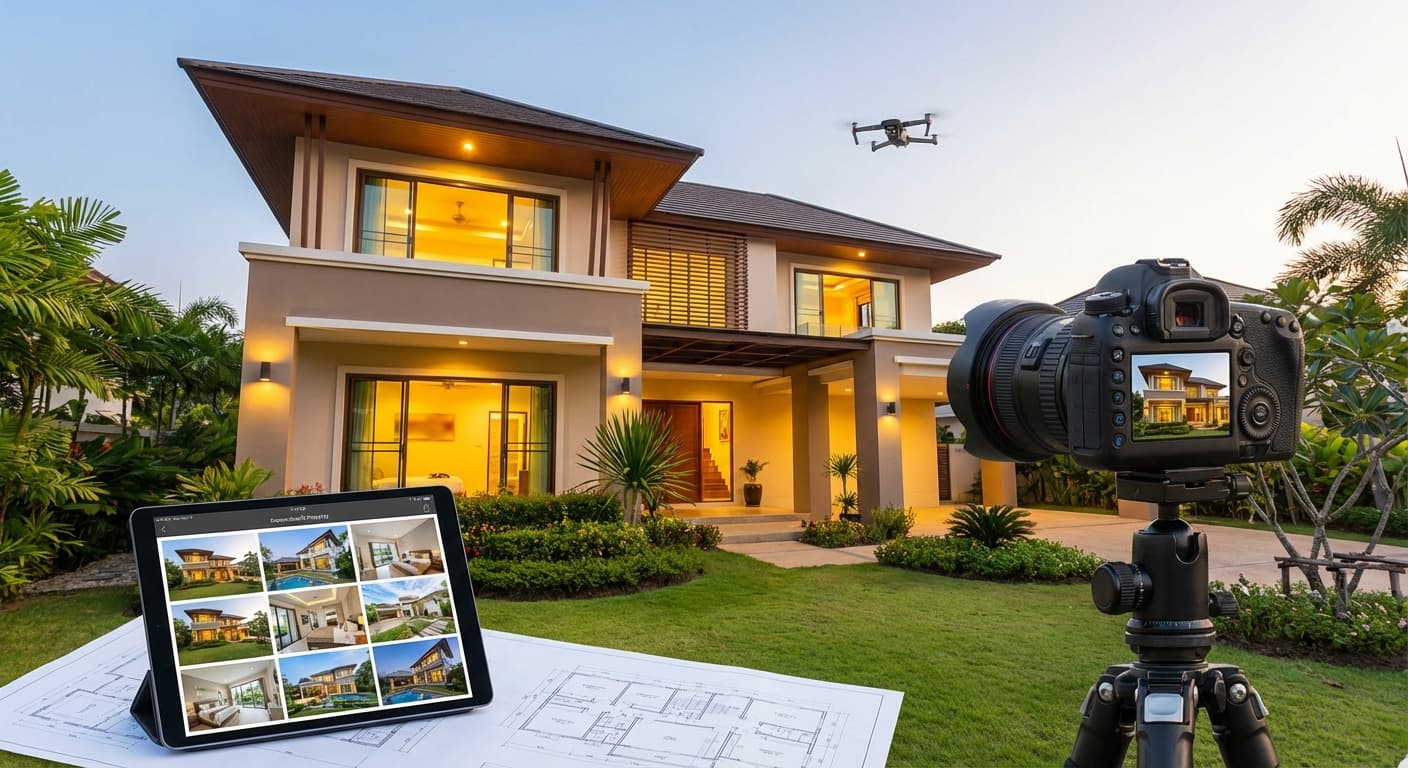
Foto interior yang bagus bisa jadi game-changer untuk listing properti Anda. Research menunjukkan listing dengan foto profesional terjual 32% lebih cepat dan dengan harga 5-10% lebih tinggi. Tapi tidak semua agent punya budget untuk hire professional photographer setiap kali ada listing baru.
Good news? Dengan smartphone modern dan teknik yang tepat, Anda bisa create foto interior yang menarik tanpa equipment mahal. Di artikel ini, Anda akan belajar 10 tips praktis untuk foto interior properti yang professional—bahkan dengan smartphone!
Key Takeaways
Declutter adalah kunci Natural light is your best friend Wide-angle lens Shoot from corner Vertical lines harus straight Edit subtle, not extreme- : Ruangan yang rapi terlihat 50% lebih luas di foto
- : Foto saat golden hour (9-11 AM) untuk hasil terbaik
- membuat ruangan terlihat lebih spacious (tapi jangan overdo!)
- untuk capture maksimal space dalam satu frame
- : Crooked walls adalah red flag untuk buyers
- : Natural-looking photos build trust
- ❌ Personal items (foto keluarga, koleksi pribadi)
- ❌ Excess furniture (less is more!)
- ❌ Cables & chargers yang terlihat
- ❌ Trash bins, cleaning supplies
- ❌ Pet items (food bowls, toys, litter box)
- ❌ Clutter di countertops & tables
- ✅ Fresh flowers atau tanaman
- ✅ Throw pillows (warna netral)
- ✅ Decorative items (minimal & tasteful)
- ✅ Open curtains untuk natural light
- ✅ Straighten furniture & rugs
- ✅ Fluff pillows & smooth bedding
- ✅ Windows (inside & outside untuk max light)
- ✅ Mirrors (smudges sangat terlihat di foto!)
- ✅ Floors (vacuum, mop, no visible dust)
- ✅ Countertops (wipe clean, no water spots)
- ✅ Light fixtures (dust-free)
- ✅ Walls (no scuff marks)
- : Soft, bright natural light
- : Alternative jika morning tidak possible
- : Harsh midday sun (12-2 PM) & late afternoon shadows
- ✅ Open all curtains & blinds
- ✅ Turn on all lights (even during day!)
- ✅ Mix natural + artificial untuk balanced lighting
- ❌ Avoid shooting directly into windows (blown out highlights)
- Actually GREAT untuk interior photography!
- Soft, diffused light tanpa harsh shadows
- More forgiving than bright sunny days
- Turn ON semua lampu di ruangan
- Warm white (2700-3000K) lebih inviting
- Replace burnt-out bulbs before shooting
- ❌ Avoid direct flash (harsh, unflattering)
- ✅ Use flash bounced off ceiling (jika punya external flash)
- ✅ Smartphone: Better to use natural light + edit brightness later
- Windows (cool blue light) + indoor lights (warm yellow) = color cast
- : Shoot in RAW (jika smartphone support) untuk easier white balance adjustment
- Or: Edit untuk consistent color temperature
- Use Camera app (not third-party untuk simplicity)
- Turn ON Grid (Settings → Camera → Grid)
- HDR: Auto atau ON
- Format: HEIF untuk better quality (or JPEG untuk compatibility)
- Exposure: Tap to focus, slide up/down untuk adjust
- Use Pro/Manual mode jika available
- Grid: ON
- HDR: ON
- ISO: 100-400 (lower is better, less noise)
- White Balance: Auto atau Daylight
- ✅ Clean your lens! (seriously, this matters)
- ✅ Use volume button untuk shutter (more stable than screen tap)
- ✅ Shoot in highest resolution
- ❌ Don't use digital zoom (crop later instead)
- (Rp 50-200k)
- Eliminates camera shake
- Consistent height & angle
- Enables timer/remote shutter
- (Rp 100-500k)
- Makes rooms look more spacious
- Captures more in one frame
- Choose quality lens (cheap ones distort badly)
- (Rp 500k-2 juta)
- For smooth video tours
- Also helps with stable photos
- Captures TWO walls dalam satu frame
- Shows room depth & dimension
- Makes space look larger
- Most common & effective angle
- Stand di corner of room
- Face diagonally across room
- Capture opposite corner
- Include ceiling & floor untuk context
- (4-5 feet) untuk most rooms
- untuk small rooms (makes ceiling look higher)
- untuk large rooms (shows more floor)
- Natural frame untuk composition
- Shows room from entry perspective
- Good untuk "flow" between rooms
- Stand di doorway
- Frame room through door opening
- Include door frame untuk context
- Shoot straight (not angled)
- Feature walls (fireplace, built-ins)
- Kitchen cabinets
- Bathroom vanities
- Architectural details
- Face wall directly (not angled)
- Keep camera level (use grid!)
- Center your subject
- Ensure vertical lines are straight
- ✅ Use untuk small rooms (makes them look bigger)
- ✅ Shoot from corners untuk max effect
- ✅ Keep camera level (avoid distortion)
- ❌ Overdo it (unnatural distortion)
- ❌ Use untuk close-ups (weird proportions)
- ❌ Tilt camera (makes walls look crooked)
- Main seating area
- Focal point (TV, fireplace, window view)
- Natural light from windows
- Room flow & space
- Wide shot from corner (shows full room)
- Seating area close-up
- Focal point detail
- View from sofa (buyer perspective)
- Arrange pillows & throws
- Coffee table: 1-2 decorative items max
- Open curtains fully
- Turn on lamps untuk warmth
- Countertop space
- Cabinets & storage
- Appliances
- Lighting
- Wide shot showing full kitchen
- Island/counter close-up (if applicable)
- Stove/cooking area
- Sink area (clean & dry!)
- Clear ALL countertops (except maybe fruit bowl)
- Hide dish soap, sponges, etc
- Open one cabinet untuk show storage (optional)
- Fresh flowers atau fruit untuk pop of color
- ❌ Cluttered counters
- ❌ Dirty dishes in sink
- ❌ Appliances unplugged (looks weird)
- ❌ Refrigerator magnets & papers
- Bed as focal point
- Natural light
- Closet space (if impressive)
- Room size
- Bed from foot (shows full room)
- Bed from corner (shows depth)
- Window/view (if nice)
- Closet (if spacious)
- Make bed perfectly (hotel-style)
- Symmetrical pillows
- Nightstands: lamp + 1 small item
- Remove personal photos
- Open curtains
- Vanity & mirror
- Shower/tub
- Tile work
- Lighting
- Vanity straight-on (mirror reflection!)
- Shower/tub area
- Full bathroom from doorway
- Details (nice fixtures, tile)
- Put down toilet lid (always!)
- Fresh towels (white atau neutral)
- Clear counters completely
- Clean mirror (no spots!)
- Hide toiletries, toilet brush, etc
- Mirrors reflect everything (including you!)
- : Shoot from angle, not straight-on
- Or: Use timer & step out of frame
- Use grid lines on camera
- Align vertical lines dengan grid
- Keep camera level (not tilted up/down)
- Fix in editing jika needed (perspective correction)
- Wide-angle lenses bend straight lines
- Especially noticeable at edges
- : Don't put important elements at edges
- Or: Correct in editing
- Shooting from too low/high
- : Shoot from chest height
- Keep camera level
- Not the windows (they'll blow out, that's OK)
- Tap on wall atau furniture untuk set exposure
- Slightly underexpose (easier to brighten than darken)
- Helps balance bright windows + dark room
- Use AUTO HDR untuk simplicity
- Or: Bracket exposures & merge in editing
- Brighten slightly (rooms should look inviting)
- Don't overdo (unnatural)
- Slight increase untuk definition
- Not too much (harsh shadows)
- Correct color casts
- Warm tones are inviting
- Cool tones look sterile
- Fix crooked horizons
- Straighten vertical lines
- Crop untuk better composition
- Slight sharpening untuk clarity
- Don't overdo (looks fake)
- Extreme saturation (fake colors)
- Too much brightness (blown out)
- Heavy filters (Instagram-style)
- Fake HDR look (halos around objects)
- Adding furniture that's not there (unless virtual staging disclosed)
- Changing wall colors drastically
- Removing structural elements
- Making rooms look bigger than reality
- Enhance what's already there
- Correct lighting & color
- Remove minor distractions (small trash, etc)
- Make it look its best, but realistic
- Small property: 15-20 photos minimum
- Large property: 30-40 photos
- Every room from multiple angles
- Choose orientation (usually horizontal untuk rooms)
- Consistent lighting (same time of day)
- Consistent editing (same preset/style)
- Use timer/remote shutter
- Watch for reflections
- Check shadows before shooting
- Check for: toilet seat up, trash visible, cords, clutter
- Do final walk-through before shooting
- Review photos on larger screen before finishing
- ✅ Schedule shoot (best time of day)
- ✅ Ask owner untuk clean & declutter
- ✅ Charge phone/camera
- ✅ Clean lens
- ✅ Arrive early untuk final staging
- ✅ Open all curtains
- ✅ Turn on all lights
- ✅ Do walk-through untuk plan shots
- Enter & assess lighting
- Stage & declutter
- Plan angles (where to shoot from)
- Take wide shots first
- Then detail shots
- Review on phone untuk ensure quality
- Reshoot if needed
- Wide shot: 2-3 angles per room
- Details: 2-3 per room
- Total: 5-6 photos per room
- Whole property: 20-40 photos
- Use consistent naming:
- Example:
Persiapan Sebelum Foto
Declutter & Staging
Why It Matters:
Clutter membuat ruangan terlihat kecil, berantakan, dan tidak appealing. Buyers ingin imagine their life di properti—bukan melihat barang-barang owner.
What to Remove:
What to Add/Arrange:
Pro Tip: Ambil foto "before" sebelum staging. Ini membantu Anda see the difference dan learn what works!
Clean Everything
Checklist:
Why: Camera captures EVERYTHING. Details yang Anda tidak notice in person akan obvious di foto.
Lighting: The Most Important Factor
Natural Light Optimization
Best Time to Shoot:
9-11 AM 2-4 PM AvoidWindow Management:
Overcast Days:
Artificial Lighting
Room Lights:
Flash:
Mixed Lighting Challenge:
Solution💡 Baca Juga: Pencahayaan untuk Foto Properti: Tips Tanpa Peralatan Mahal
Camera Settings & Equipment
Smartphone Settings
For iPhone:
For Android:
Universal Tips:
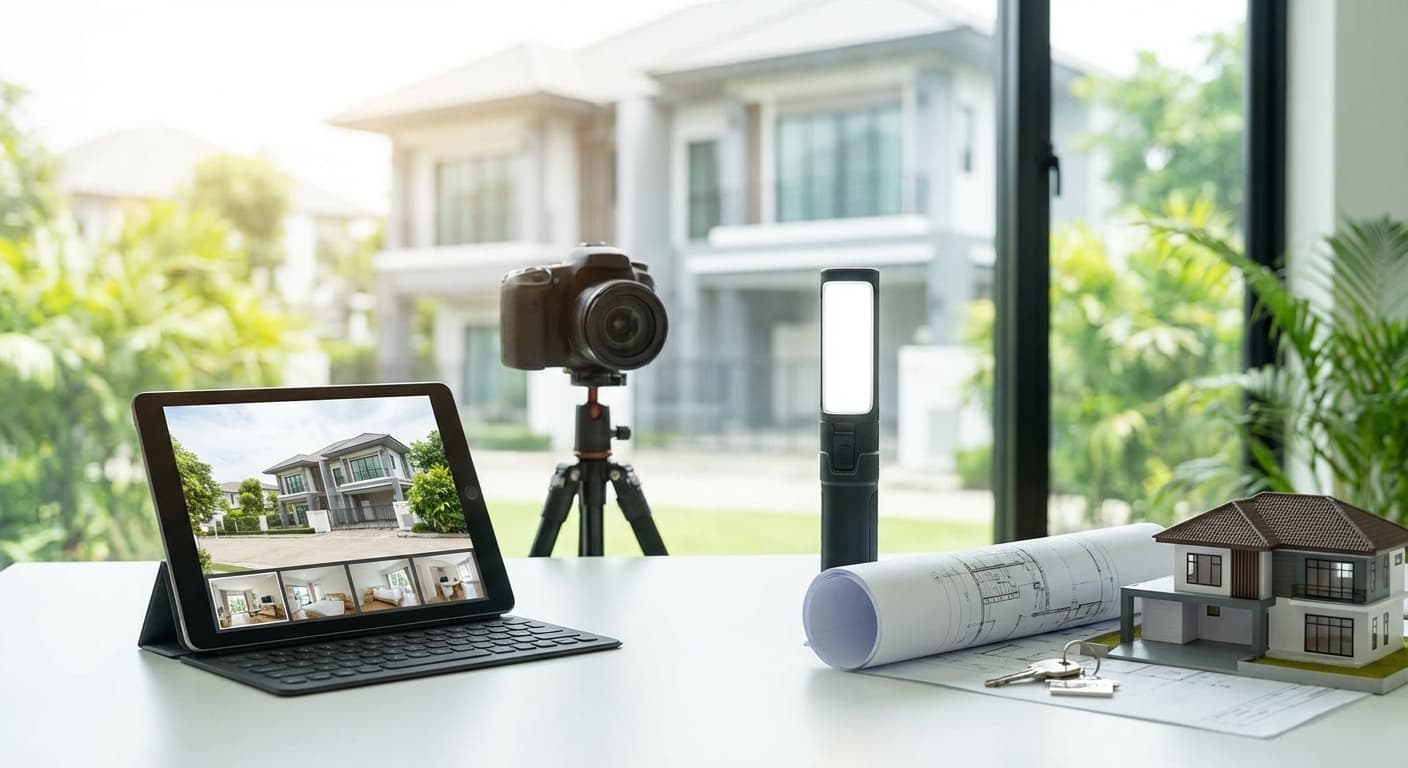
Equipment (Optional but Helpful)
Essential:
Smartphone tripodNice to Have:
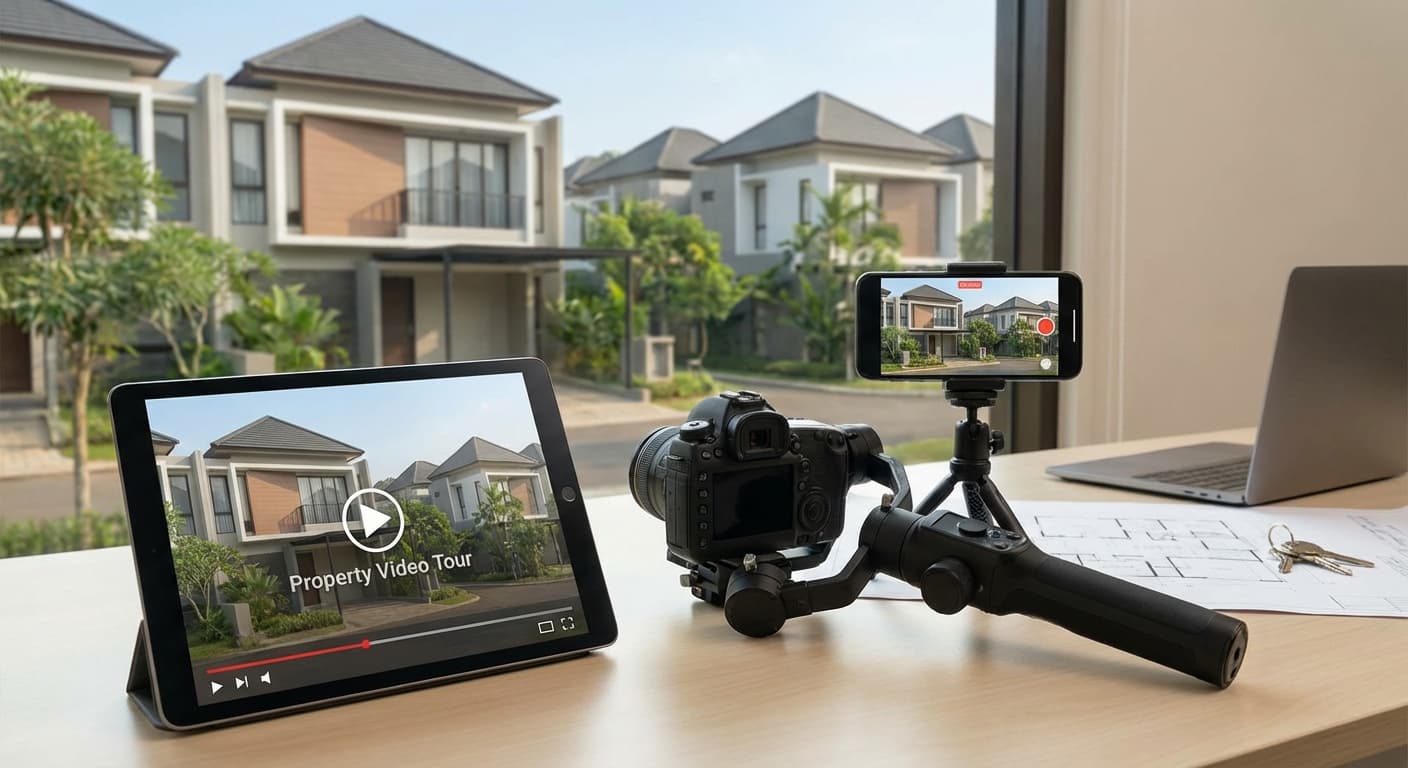
Wide-angle lens attachmentAdvanced:
GimbalComposition & Angles
The Corner Shot
Why It Works:
How to Do It:
Height:
Chest height Lower HigherThe Doorway Shot
Why It Works:
How to Do It:
Straight-On Shots
When to Use:
How to Do It:
Wide-Angle Tips
Do:
Don't:
Room-Specific Tips
Living Room
Focus On:
Shots to Get:
Styling:
Kitchen
Focus On:
Shots to Get:
Styling:
Common Mistakes:
Bedroom
Focus On:
Shots to Get:
Styling:
Bathroom
Focus On:
Shots to Get:
Styling:
Mirror Challenge:
SolutionTechnical Tips
Keep Vertical Lines Straight
Why It Matters:
Crooked walls make property look unprofessional dan cheap.
How to Fix:
Common Mistake:
Tilting camera up untuk "fit more in frame" → walls look like they're falling inward
Avoid Distortion
Barrel Distortion:
FixPerspective Distortion:
FixExposure & Brightness
Expose for the Room:
HDR Mode:
Editing Basics
Essential Edits
Brightness & Exposure:
Contrast:
White Balance:
Straighten & Crop:
Sharpness:
What NOT to Do
❌ Over-Editing:
❌ Deceptive Editing:
✅ Honest Editing:
💡 Baca Juga: Editing Foto Properti: Apps dan Tools Terbaik untuk Agent
Common Mistakes to Avoid
Mistake #1: Shooting Too Fast
Problem: Rushed photos look sloppy
Solution: Take time untuk stage, adjust lighting, compose carefully
Mistake #2: Not Enough Photos
Problem: Buyers want to see EVERYTHING
Solution:
Mistake #3: Inconsistent Style
Problem: Mix of vertical/horizontal, different lighting, different editing
Solution:
Mistake #4: Including Yourself
Problem: Reflection di mirrors, shadows, etc
Solution:
Mistake #5: Ignoring Details
Problem: Small things ruin otherwise good photos
Solution:
Workflow & Organization
Pre-Shoot Checklist
Day Before:
Day Of:
Shooting Workflow
For Each Room:
How Many Photos:
Post-Shoot Organization
File Naming:
[Address]_[Room]_[Number].jpg
JlSudirman123_LivingRoom_01.jpgFolder Structure:
Properties/
 └── Jl-Sudirman-123/
 ├── Exterior/
 ├── Living-Room/
 ├── Kitchen/
 ├── Bedrooms/
 └── Bathrooms/
Backup:
- Cloud storage (Google Drive, Dropbox)
- External hard drive
- Don't rely on phone storage only!
- Cluttered coffee table
- Closed curtains (dark)
- Crooked camera angle
- Personal photos visible
- Clear coffee table (just flowers)
- Open curtains (bright)
- Straight, level shot
- Personal items removed
- Counters full of appliances
- Dirty dishes in sink
- Overhead shot (weird angle)
- Yellow color cast
- Clear counters (just fruit bowl)
- Clean, dry sink
- Eye-level shot
- Corrected white balance
- Unmade bed
- Clothes on chair
- Dark (curtains closed)
- Tilted camera
- Hotel-style made bed
- Clear chair
- Bright natural light
- Straight, level shot
- ✅ Practice di rumah sendiri atau listing berikutnya
- ✅ Implement decluttering & staging
- ✅ Shoot during golden hour (9-11 AM)
- ✅ Use corner shots untuk wide coverage
- ✅ Build consistent workflow
- ✅ Create editing presets untuk efficiency
- ✅ Organize file system
- ✅ Compare results (before implementing tips vs after)
- ✅ Study professional property photos
- ✅ Experiment dengan angles & lighting
- ✅ Get feedback from clients
- ✅ Continuously improve
- : Clean, declutter, stage
- : Use it wisely
- : Minimal staging, subtle editing
- : Develop your style & stick to it
- : Your 100th photo will be better than your 1st
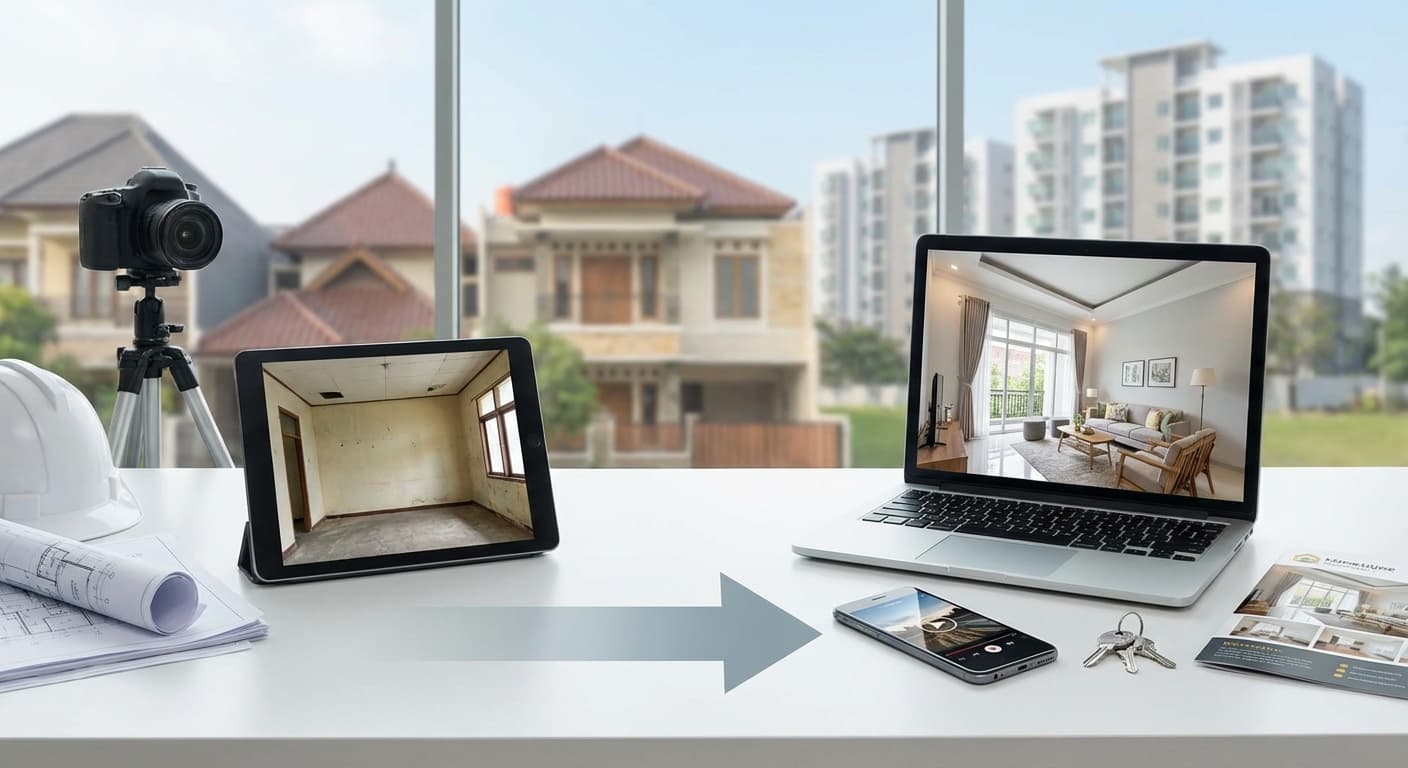
Before-After Examples
Example 1: Living Room
Before:
After:
Result: Room looks 2x bigger & more inviting!
Example 2: Kitchen
Before:
After:
Result: Kitchen looks clean, spacious, & modern!
Example 3: Bedroom
Before:
After:
Result: Bedroom looks like a retreat!
📸 Visual Note: Lihat perbedaan dramatis dengan proper staging & technique!
Kesimpulan
Foto interior yang bagus bukan tentang equipment mahal—it's about technique, preparation, dan attention to detail. Dengan smartphone modern dan 10 tips di atas, Anda bisa create professional-looking photos yang sell properties faster.
Action Plan:
This Week:
This Month:
Ongoing:
Remember:
Preparation is 80% of success Natural light is free Less is more Consistency matters Practice makes perfectStart implementing these tips today, dan watch your listing photos transform! 📸
Baca Juga:
Cara Foto Properti Profesional dengan Smartphone Foto Eksterior Properti: Angle dan Waktu Terbaik Editing Foto Properti: Apps dan Tools Terbaik untuk Agent